
 EN



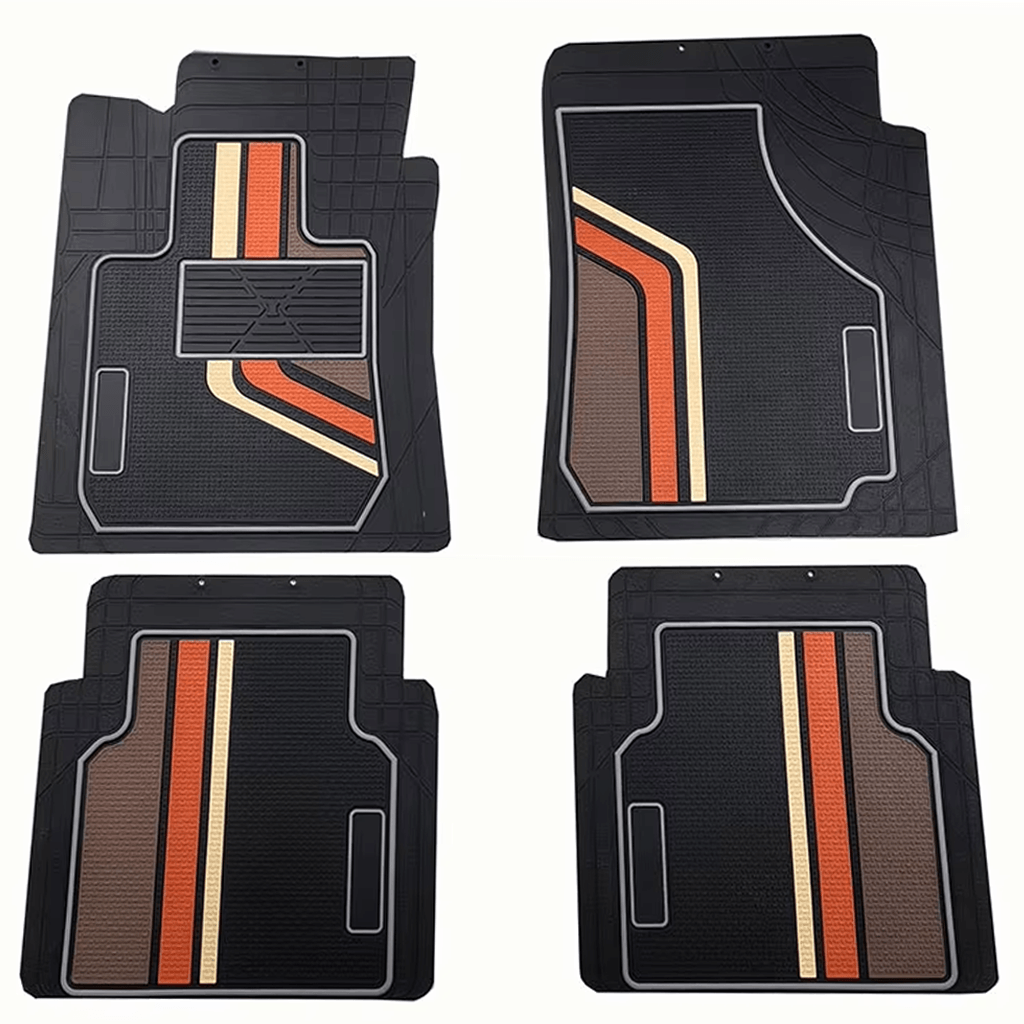
To measure car mats correctly, measure the floor aperture rather than the old mat: five dimensions decide whether a replacement fits — the length from the seat rail to the firewall, the width at the widest point, the width at the narrowest point, the position of the retention posts, and the height of the sill or console lip the mat must clear. Measuring the worn mat copies its shrinkage and its misfit, which is why replacements cut to an old mat rarely sit flat.
This guide covers measurement for two different jobs: choosing a universal size that can be trimmed to fit, and supplying dimensions to a factory for a custom-fit set. The first needs two numbers; the second needs a drawing.
The five dimensions that decide fit
Five measurements account for nearly every fit failure, and each one exists because of a specific thing in the vehicle that the mat has to clear.
| Dimension | How to take it | What it controls | Common error |
|---|---|---|---|
| Length, seat rail to firewall | Measure with the seat in the normal driving position, along the floor, not along the slope | Whether the mat can creep forward under the pedals | Measuring with the seat pushed back, which overstates the space |
| Width at the widest point | Across the floor between sill and console, at the widest point of the aperture | Overall coverage; whether the mat needs trimming | Measuring mid-floor only, which misses the flare near the sill |
| Width at the narrowest point | Usually at the seat rail or the console step | Whether the mat will buckle or lift at the constriction | Ignoring it, then finding the mat curls at the seat rail |
| Retention post position | Centre-to-centre distance between the factory posts, measured from a fixed reference such as the sill | Whether the mat can be fixed at all, or must rely on friction | Measuring to the clip centre on one side only |
| Sill and console lip height | Vertical height the mat edge must rise to sit inside the trim | Whether a raised edge can tuck in, or will stand proud | Choosing a tall edge on a shallow sill, then catching it on entry |
Measuring a footwell for a custom mat
For a custom-fit set, measure the aperture, not the mat, and take every measurement twice with the seat in the normal driving position.
- Clear and vacuum the footwell. Grit under the measuring tape adds millimetres you will not see.
- Mark the four corners. Use masking tape on the carpet at the points where the mat edge should sit, then measure between the tape marks rather than guessing the ends.
- Take the length at the low point of the floor and separately note the sloped distance up to the firewall, because the two differ on most vehicles and only one belongs on the drawing.
- Record the widest and narrowest widths with the position of each along the length — "340 mm wide at 180 mm from the seat rail" is usable; "340 mm" alone is not.
- Note the retention posts as centre-to-centre distance, and photograph the post with a ruler in frame.
- Photograph straight down from above the footwell with the tape marks visible. A 90-degree photo with a scale is worth more than three angled ones.
Do this for all four positions if the vehicle has four, and label each photo by position. Front left and front right differ on almost every vehicle, and a supplier who receives one photo will assume symmetry.
Choosing a universal size that can be trimmed
For universal mats, you need only two numbers: the longest length and the widest width of the aperture, each plus a trimming allowance. Buy the size category that covers the widest point, then trim down — never the other way round.
Two practical rules apply. First, trim from the edge that will be least visible and least loaded, usually the console side rather than the door sill side. Second, leave the retention area intact: if the universal mat has no post holes, it will rely on friction, which is where most "my mats slide" complaints begin.
Where a universal mat must fit around a footrest or a console flare, cut a relief notch rather than a curve. A notch follows the trim line; a curve creates a flap that lifts with foot movement.
Where measurement goes wrong
Most fit failures come from four repeatable mistakes rather than from manufacturing tolerance. Measuring the old mat instead of the floor copies its shrinkage. Measuring with the seat pushed back overstates the length. Taking only a mid-floor width misses the flare near the sill. And photographing from an angle hides exactly the dimension that was wrong.
Each of these is cheap to prevent and expensive to discover after a container has shipped, which is why a drawing review before production is worth more than a tolerance clause after it.
What to send a factory
If you are ordering a custom-fit set, a supplier needs five things to quote and sample accurately: a 2D drawing or a dimensioned sketch per position, the five measurements above for each position, the retention post centres, the vehicle model and year, and a straight-down photograph with a scale.
Send the drawing in a format that can be measured — DXF, STEP or a dimensioned PDF rather than a photo of a sketch — and state which side is up. A drawing without an orientation mark is the most common cause of a mirrored sample.
Next step
If you have dimensions and want them checked against a production drawing, send the sketch and the photos and we will tell you which dimensions are missing before a sample is cut. Our custom fit range shows what a finished programme looks like, the universal range covers trim-to-fit sizes, and car floor mat clips covers the retention parts that measurement has to match. Send your drawing to our team.